How Can We Help?
Working with media assets as a contributor
This document assumes that the media items are ready to upload and publish. It is also recommended that the relevant media-level metadata is prepared and collected at this point. It is best practice to enter media-level metadata now, but it can be added later if needed.
Managing media access with cultural protocols
Uploading media assets overview (video)
There are two ways to access the media import feature: as a Mukurtu Administrator through the Dashboard, and as a Contributor through the Digital Heritage Item editor. They both work functionally the same and offer the same controls and features. This document shows how to add media assets as a Contributor.
To see how to add media assets as a Mukurtu Administrator, read the support article Working with Media Assets as a Mukurtu Administrator.
The media importer is accessible through the create/edit digital heritage item page and is present on the right hand side of the screen. Clicking the top-most tab on the panel (the ‘list’ icon) will open up the media library of previously uploaded media assets.
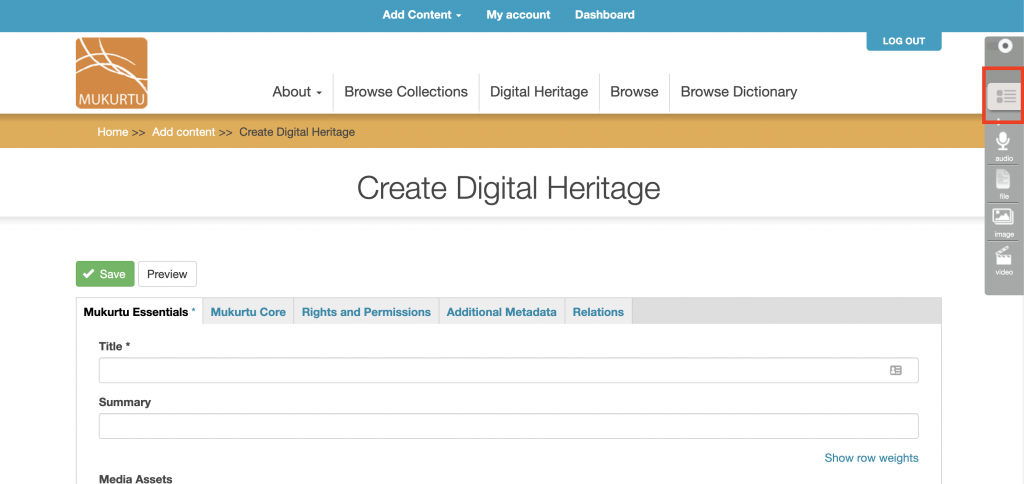
Clicking the other icons (one each for audio, files, images, and video) will open up the media importer and begin the media asset upload process.
Select the appropriate media type. Only media assets of one type can be uploaded at a time (image, audio, video, document), but different file formats of the same media type can be uploaded at the same time.

Multiple files can be uploaded at a time. Files can be added by browsing through the importer, or by drag-and-dropping from the computer. At the bottom of the importer window is a list of compatible file formats. Click on Add Files to locate the files on the computer.
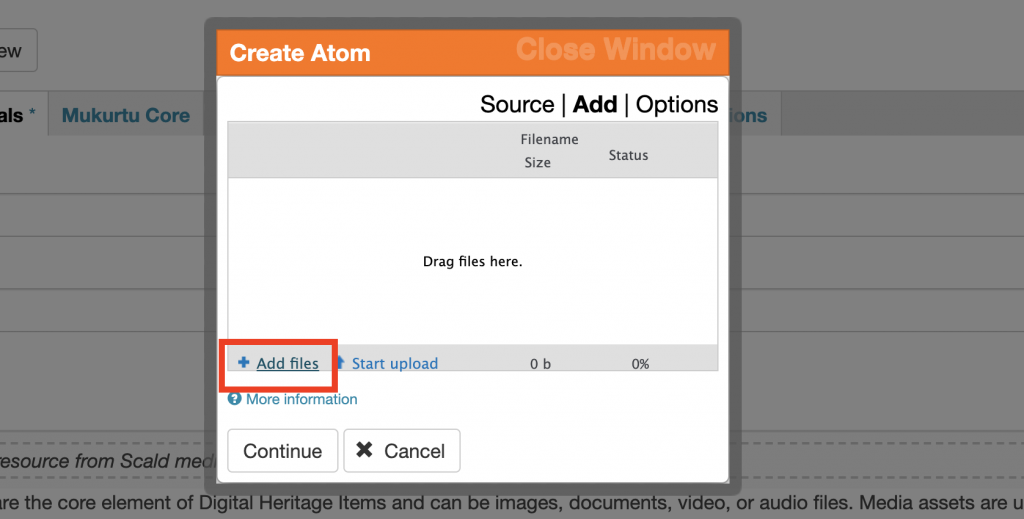
After all files to be uploaded have been selected, click Continue. Depending on file size and number of files, this may take a little while.

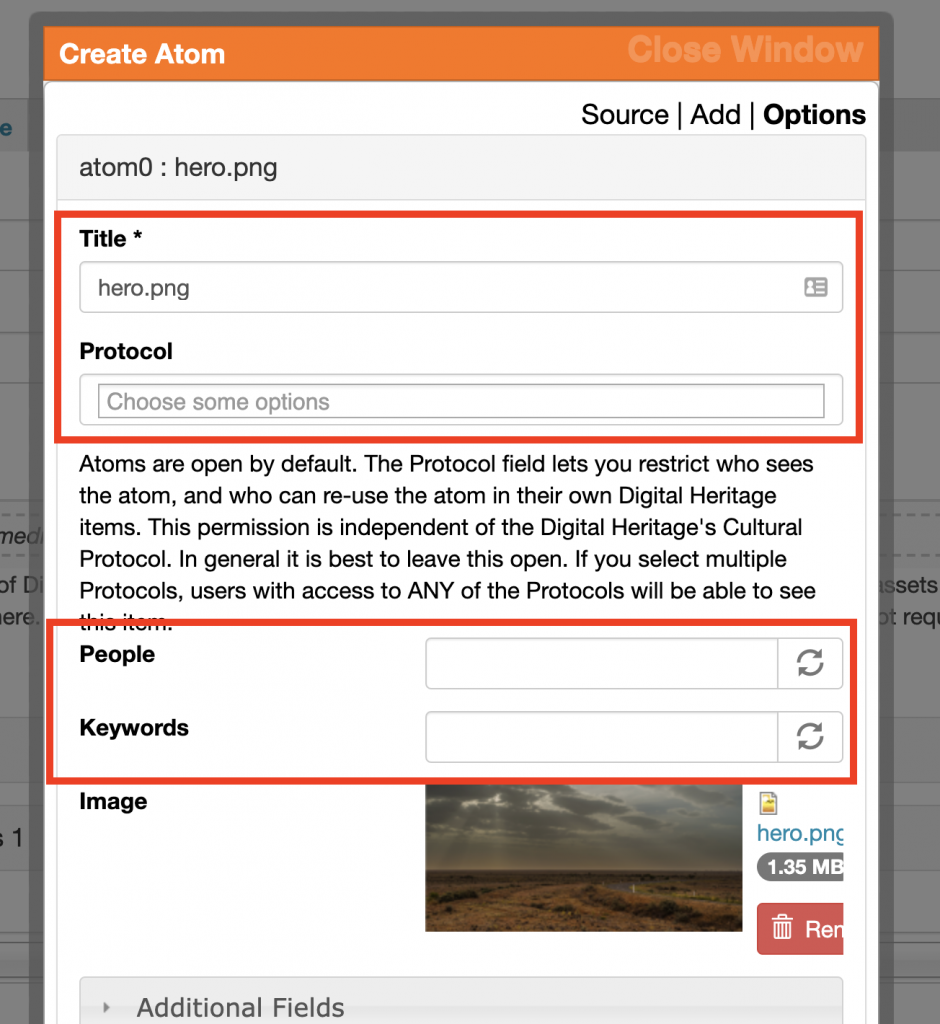
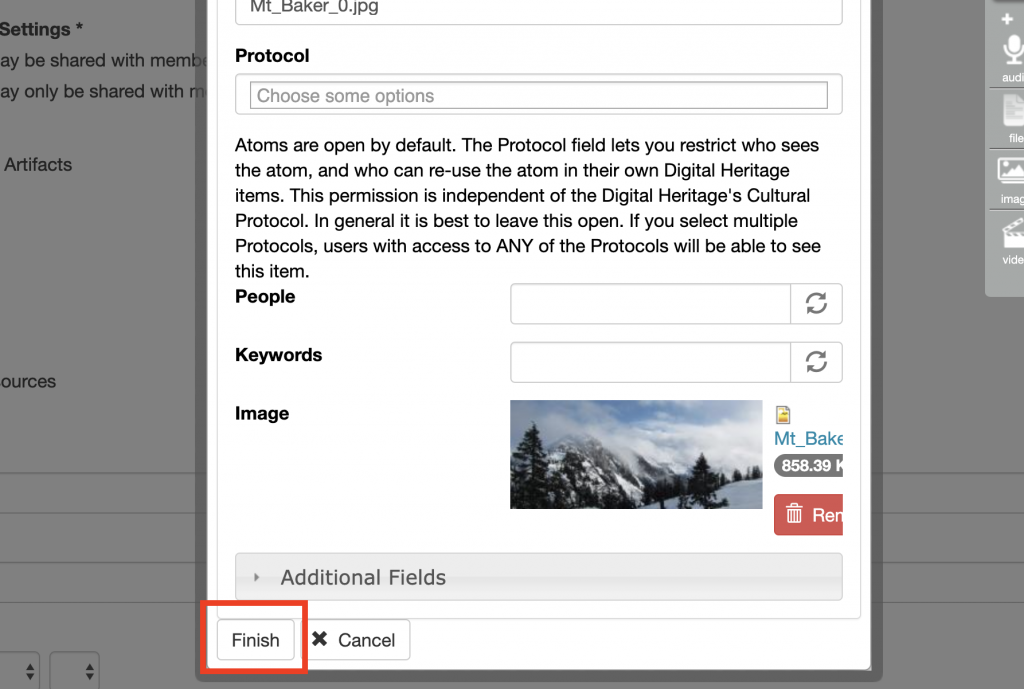
Now media-level metadata can be added. Only Title is a required field, but it is best practice to include as much metadata as possible about the media assets. Metadata is entered individually for each item. Media-level metadata for each file now can be entered manually now, or batch imported later if many media assets will need metadata.
Recommended settings:
- Title: will default to uploaded filename, leave as is unless something else is needed.
- Protocol: if the final DH item or dictionary word will use a strict protocol, apply the same protocol here. For a public access item, no protocol is needed.
- People: if using deceased media content warnings, enter the names of people in the media asset here.
- Keywords: if using taxonomy-triggered media content warnings, enter the relevant keywords/tags here.
- Contributor (audio files only): to display the name of the speaker on the audio recording in the dictionary, enter the speaker’s name here.
When all metadata is entered, click Finish.
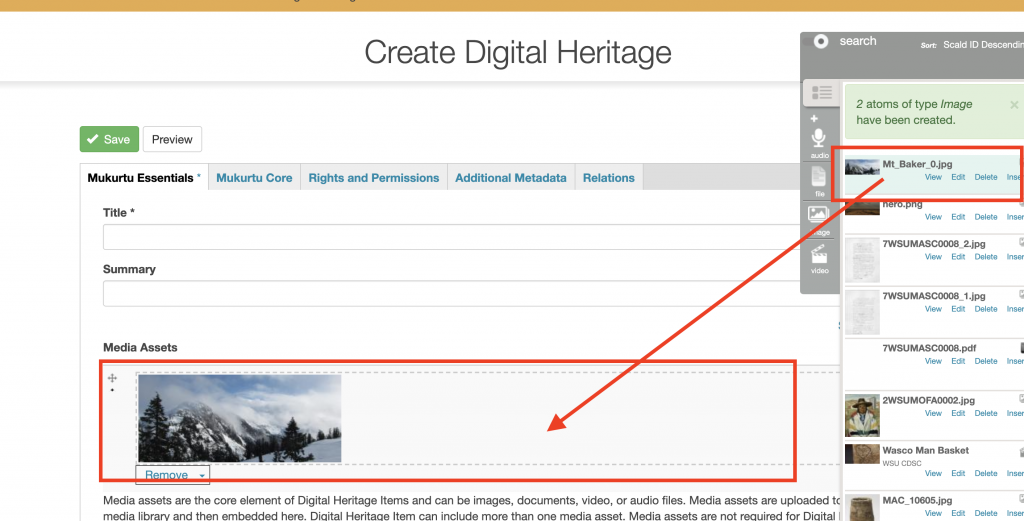
Media assets and metadata will be saved and a confirmation page will be displayed. The media assets can now be used in digital heritage items, or to customize the site.

To add a recently uploaded media asset to a digital heritage item, open the media library by clicking the list icon, then drag and drop the thumbnail into the Media Assets box.